Shimmering Elements
by Lydia Tarbox
I love glitter. Oh, not real glitter. Real glitter makes me twitchy. But, digital glitter? Yes, please! I love having a little extra sparkle on my scrapbook pages, especially this time of year when I’m scrapping winter and Christmas photos. It just makes my pages seem a little more festive.
Well, I recently discovered a really easy way to add just a little bit of shimmer to my elements. This technique gives a result that’s a little more subtle than most glitter effects. It adds just a touch of shine and sparkle. But, part of what makes it so wonderful is the fact that it can be applied to almost ANY element. I could see it working for summer themed elements, like sunshine and water elements, just as well as it does for winter themed elements. I absolutely love the result, and I think you will, too. So, let’s get started!
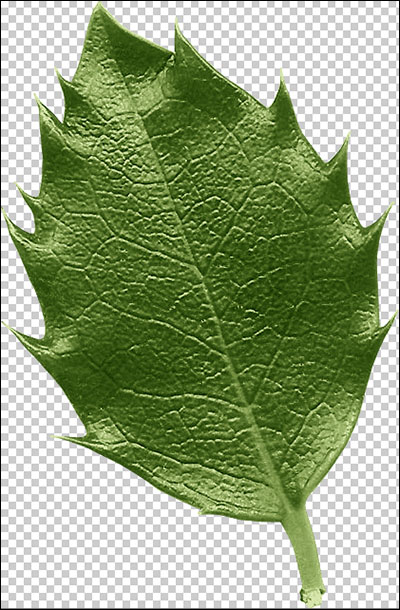
Step One: Open an Element
- Open (File > Open) an element of your choice.
- In the Menu Bar, choose File > Duplicate and click OK. (Photoshop: Choose Image > Duplicate.)
- Close the original file.
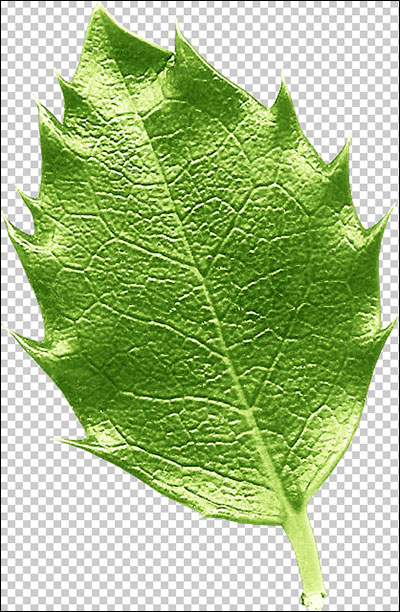
Step Two: Adjust the Blend Modes
- Press Ctrl J (Mac: Cmd J) two times to duplicate the element twice.
- In the Layers panel, activate the middle layer and set the Blend Mode to Overlay.
- Activate the top layer and set the Blend Mode to Screen.
Step Three: Apply the Noise Filter
- In the Layers panel, activate the bottom layer.
- In the Menu Bar, choose Filter > Noise > Add Noise.
- In the dialog box, set the Amount to 30%, the Distribution to Uniform, check Monochromatic, and click OK.
- In the Layers panel, activate the middle layer.
- In the Menu Bar, choose Filter > Noise > Add Noise.
- In the dialog box, set the Amount to 40%, the Distribution to Gaussian, check Monochromatic, and click OK.
- In the Layers panel, activate the top layer.
- In the Menu Bar, choose Filter > Noise > Add Noise.
- In the dialog box, set the Amount to 40%, the Distribution to Gaussian, check Monochromatic, and click OK.
- In the Layers panel, set the Opacity to 40%.
- In the Menu Bar, choose Layer > Merge Visible.
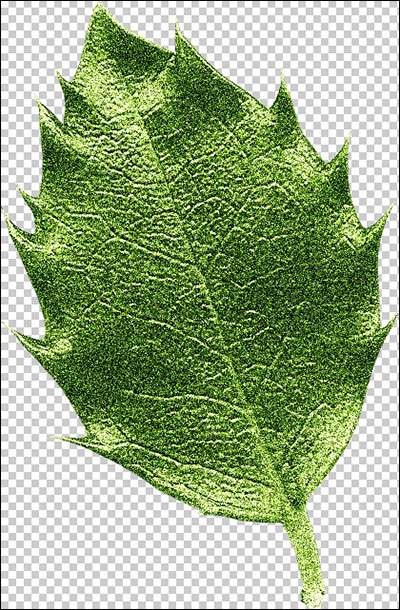
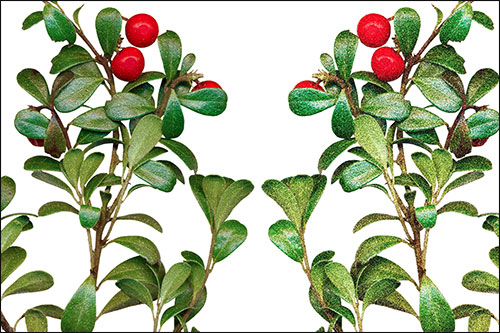
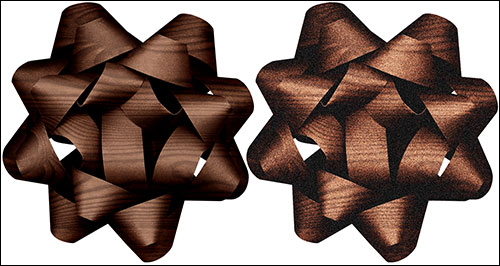
And, that’s it! So simple! Here are a few other elements to which I added some shimmer. For the ribbon, I used 50% for the Amount of the Noise on the bottom layer, and 60% for the middle and top layers. Feel free to experiment with the Amount settings on different elements to get the effect you desire. The effect is subtle but adds such a fun touch of sparkle.

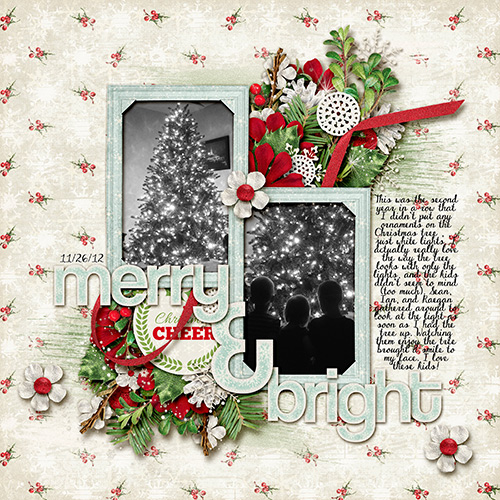
And, here’s my finished layout:
Credits:
Digi Scrap Tutorial: Shimmering Elements by Lydia Tarbox
Layout: Merry and Bright by Lydia Tarbox
Kit: Christmas Wishes by Kristin Cronin-Barrow; December 2013 Premier kit
Font: DJB Dear St Nick

_____________________________________________
 Author: Lydia Tarbox
All comments are moderated.
Please allow time for your comment to appear.
4 Responses
Nell Covington
Can’t wait to try this. Thanks for sharing!
pjscraps
This is wonderful. Thanks for the tutorial.
Jay
What a useful trick to have up your sleeve – great tutorial
Jo Campbell
Love my Digi Scrap Tutorials. Thank you so much!