
Do you wish you had a background with some pizzazz? Use the fading paper technique to create a background that pops.
For this tutorial you will need:
- a solid background paper
- a patterned background paper
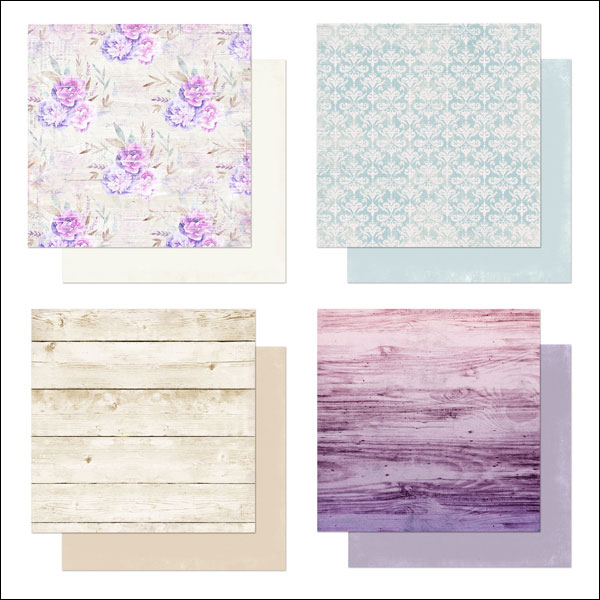
The two papers you use must be complimentary to each other in color and tone for results of this tutorial to look good. Here are a few examples of paper combinations that would work well:
Step One: Prepare the Workspace
- Create a new 12×12 inch document (File > New > Blank File) at 300 ppi with a white background. (PS: Choose File > New.)
- Press the letter D to reset the Color Chips to the default of black over white.
Step Two: Add Solid Paper
- Open a solid background paper (File > Open).
- Get the Move tool.
- Hold down the Shift key and click and drag the solid paper onto the new document.
NOTE: Holding down the Shift key while adding something to a document ensures that the item will land in the center of the document.

Step Three: Add Patterned Paper
- Open a patterned background paper.
- Hold down the Shift key and click and drag the patterned paper onto the document.

Step Four: Add Layer Mask
- In the Layers panel, make sure the patterned paper layer is the active layer.
- In the Layers panel, click on the Add Layer Mask icon.
- Black should be the Foreground Color Chip. If it isn’t, press the letter X.
- Get the Gradient tool.
- In the Tool Options, open the Gradient picker and choose Foreground to Transparent.
Note: If you do not see Foreground to Transparent, open the menu and choose Default. Then, open the flyout menu and choose Large List. (PS: Open the menu and choose Reset Gradients. Click OK. Then, open the flyout menu and choose Large List.)
- In the Tool Options, set the Mode to Normal and the Opacity to 100%. Check Dither and Transparency but uncheck Reverse. Click on the Linear Gradient icon.
- In the Layers panel, make sure the Layer Mask is activated. If you are not sure, click on it.
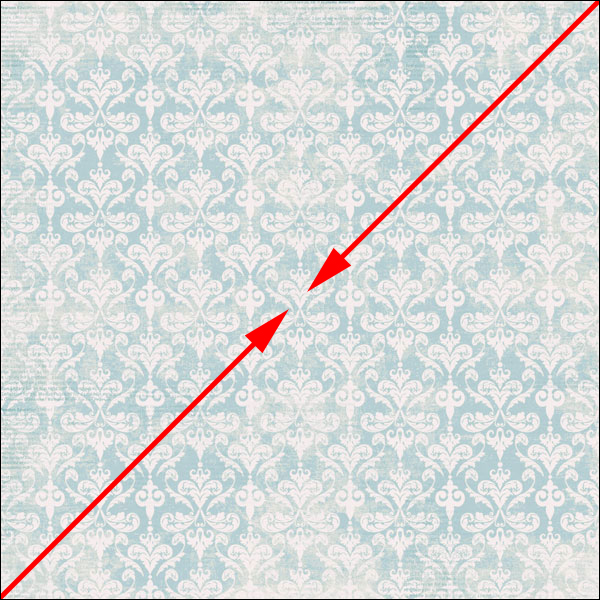
- On the document, hold down the Shift key and click and drag from the top right corner to about the center of the document. (See the screenshot below.)
- On the document, hold down the Shift key and click and drag from the bottom left corner to about the center of the document.
- Repeat the last two steps if you want the solid paper to shine through stronger.
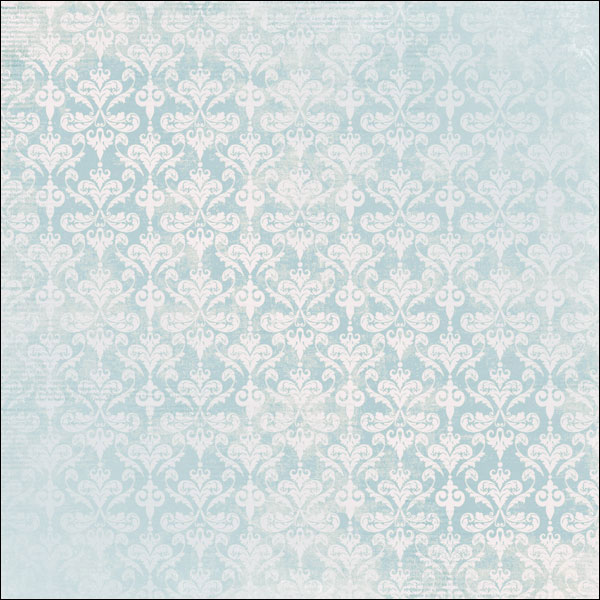

Here is how I finished my page after using the Faded Paper technique:

Credits:
Page: Jenifer Juris
Photo: Jodi Finley (Sister)
Kit: Soul Searching by Kristin Cronin-Barrow
Fonts: Gabriella Two Bold, Bebas Neue
After posting your results online,
return here and include the link in the comments.

Go through the basics of pattern design and beyond by exploring
the five most-popular types and how to make them work in your designs.
Save 15% on Pattern Design 1
_____________________________________________
 Author: Jenifer Juris | Contact Us
All comments are moderated.
Please allow time for your comment to appear.
16 Responses
Barbara
Love this and how easy it is to do. Thanks Jenifer.
Jenifer Juris
You’re welcome! I’m so glad you liked it. 🙂
Nanci25
I love that you remind us of techniques we forgot over the years! This is a great start for my little Hazel’s Easter LO!
Jenifer Juris
That’s wonderful! I’m so glad you’ll be using it to make a page. 🙂
Tina
Great tutorial. Something that I thought to be so difficult turns out, it’s easy. Thanks for the tutorial
Jenifer Juris
You’re welcome! 🙂
Janet Hays
What a neat trick to know … makes an average page look super! Thanks, Jenifer.
Jenifer Juris
You’re so welcome! 🙂
Janice Ruttimann
I haven’t use Elements in a long time but this tutorial has spark up enthusiasm again. Thank you for taking time to create this tutorial.
Jenifer Juris
I’m so glad this will get you to jump back in! Have fun with it. 🙂
Jessie
This is a great way to use papers from kits that have patterned and solid papers. Thanks, Jenifer! 🙂
Jenifer Juris
You’re welcome! 🙂
Gladys
Thank you. Looking forward to trying this. Gladys
Jenifer Juris
You’re welcome! 🙂
Lori
Fantastic tutorial! Love the results. Thank you for providing the recipe!
Jenifer Juris
You’re so welcome! I’m so glad you like it. 🙂