==> To begin Step Three, click on the image above to play the video.
Step Three: Guided Tour of the New Classroom
If you’ve somehow missed Step One and Two, here is the link to download the updated PDF.
Download the PDF: Get on the Bus — Here’s How
Download the PDF: Get on the Bus — Here’s How
Time to hop on the bus and travel over to the new classroom for a sneak peek and guided tour.
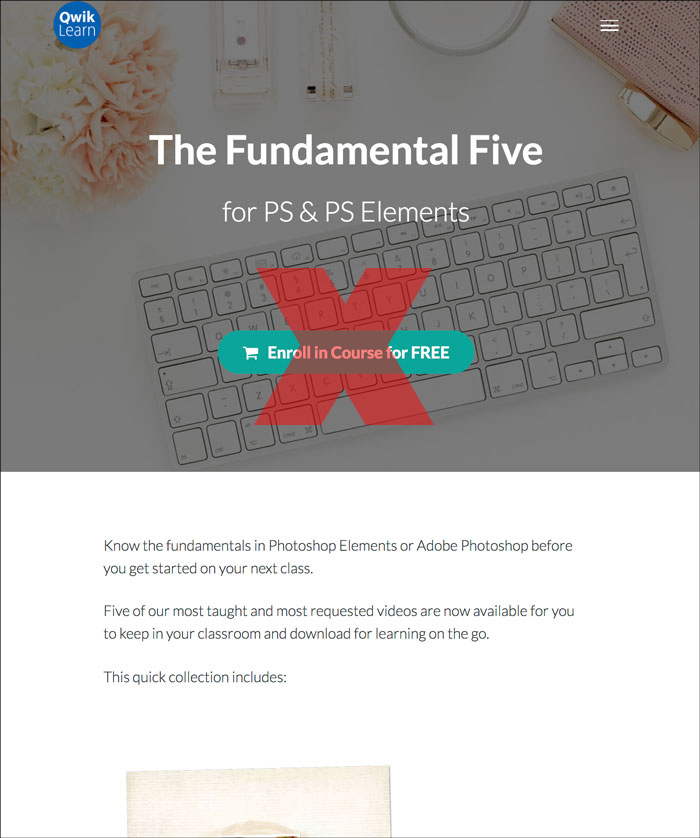
Enroll Page for a Class
- This is the enroll page for a free class currently offered in our new classroom.
- See that pretty teal Enroll button at the top? Resist the urge to click on it!
- You can click on it in Step Four!
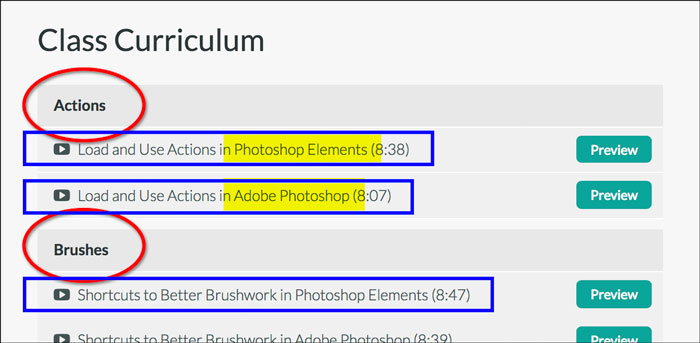
Every Enroll Page Includes a Class Curriculum
- Includes Section names, which are like modules or topics. (in red)
- Includes Lecture names, which are like subtopics or individual lessons. (in blue)
- If two software versions are included in the same class, you will see that indicated. (in yellow)
- Click on the down arrow button at the bottom of the Class Curriculum section to view the entire curriculum for the class.
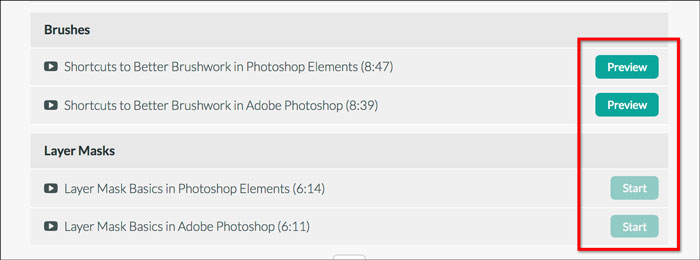
Before-You-Buy Lecture (Lesson) Previews
- Start buttons will be grayed out and un-clickable. That means you cannot view that lesson until you enroll in the class.
- Preview buttons allow you to view a lecture for free before enrolling in the class.
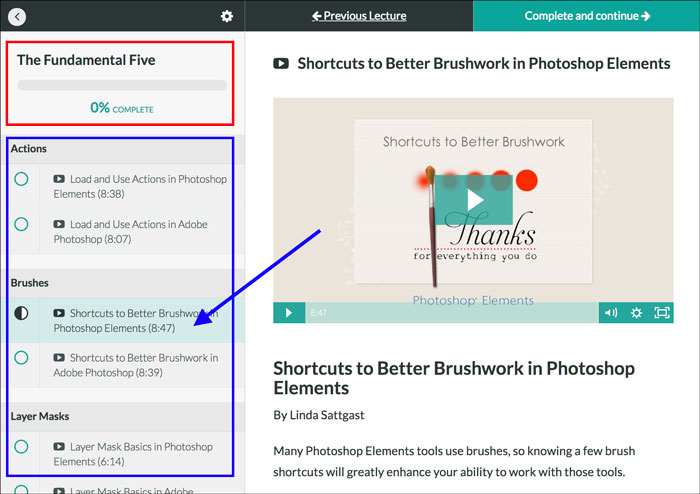
Inside a Classroom in Preview Mode
- At the top-left you’ll see the name of the class you are viewing along with a completion percentage. This percentage will change as you go through the lectures or lessons. (in red)
- Below that you will see a list of every lecture that is included in this course and the specific lecture you are viewing will be highlighted. (in blue)
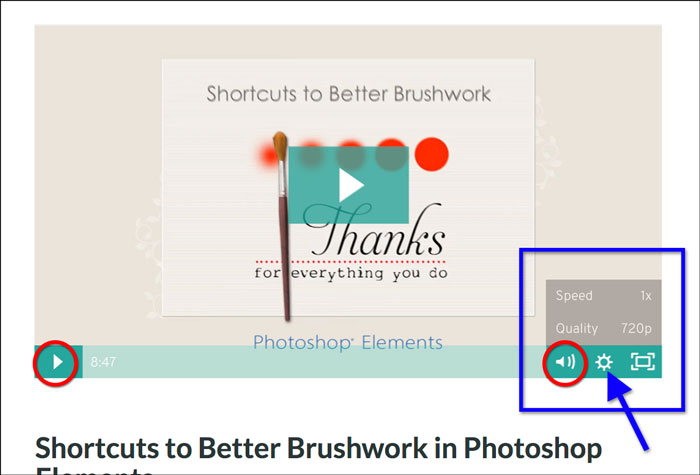
Watch and Adjust the Play of a Video
- Every video in a class will have a Play button and a Volume button. (in red)
- NEW — If you click on the Settings button, you can adjust the Speed or Quailty of the video.
NOTE: There will eventually be an option to download the videos, but that will come after we allow you to enroll.
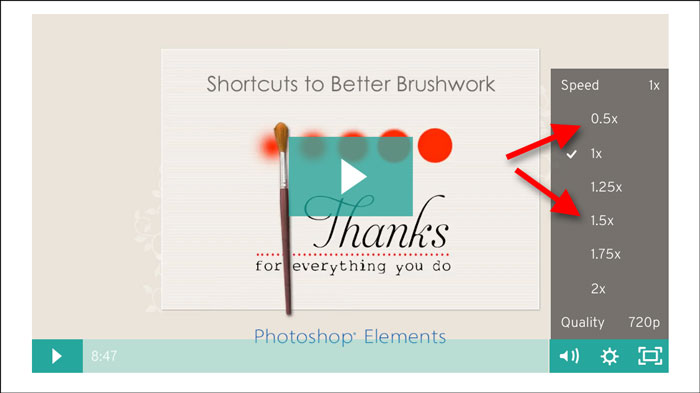
Adjust the Speed Settings of a Video
- You can slow down a video or speed it up.
- Slowing a video down is great for when you want to see a technique performed in slow motion so you can better grasp the concept.
- Speeding a video up on the other hand can be useful when reviewing a concept or scanning the video for a particular step.
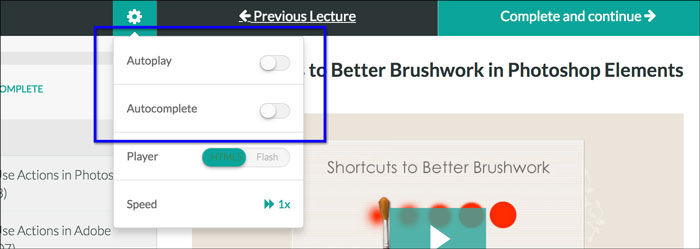
Global Classroom Settings
- To globally speed up all the videos in your class, click on the Settings icon at top of the screen.
- I recommend keeping both Autoplay and Autocomplete turned off unless you are reviewing a class you’ve already taken.
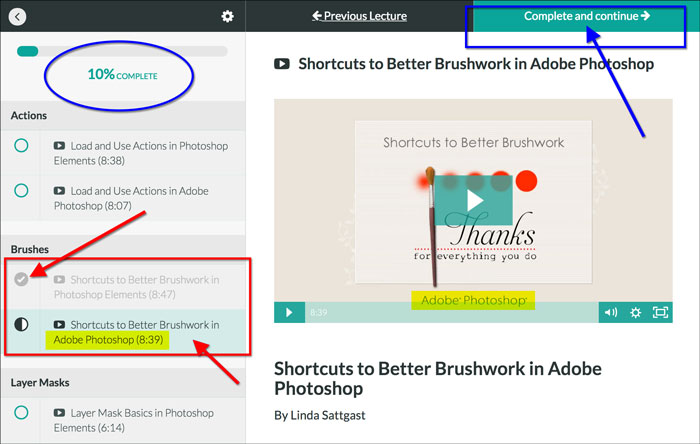
Completing Lectures
- After finishing a video and all the accompanying material in a lecture or lesson, click Complete and Continue. (blue box)
After doing this three things will happen:
- The lesson you just left will marked complete with a checkmark. ( top red arrow)
- The next lecture in the class will be highlighted, active, and ready to be viewed. (bottom red arrow)
- The percentage of the class you’ve completed will be updated. (blue oval)
- If you come to a video that does not apply to you, click Complete and Continue to move to the next lecture in the list.
NOTE: You can of course go to the next video by simply clicking on it in the lecture list, but doing that will not mark the previous lecture complete. The only way to mark a lecture complete is to click on the Complete and Continue button.
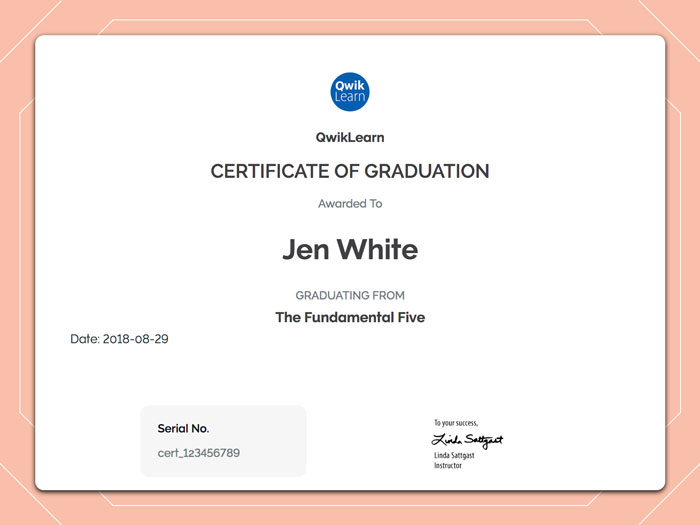
Earn a Certificate
- After marking every lesson complete inside an enrolled classroom, you will be awarded a Certificate of Graduation.
- Please do not enroll in this free class until Step Four.
For a more thorough guided tour, watch the video at the top of this page.
